

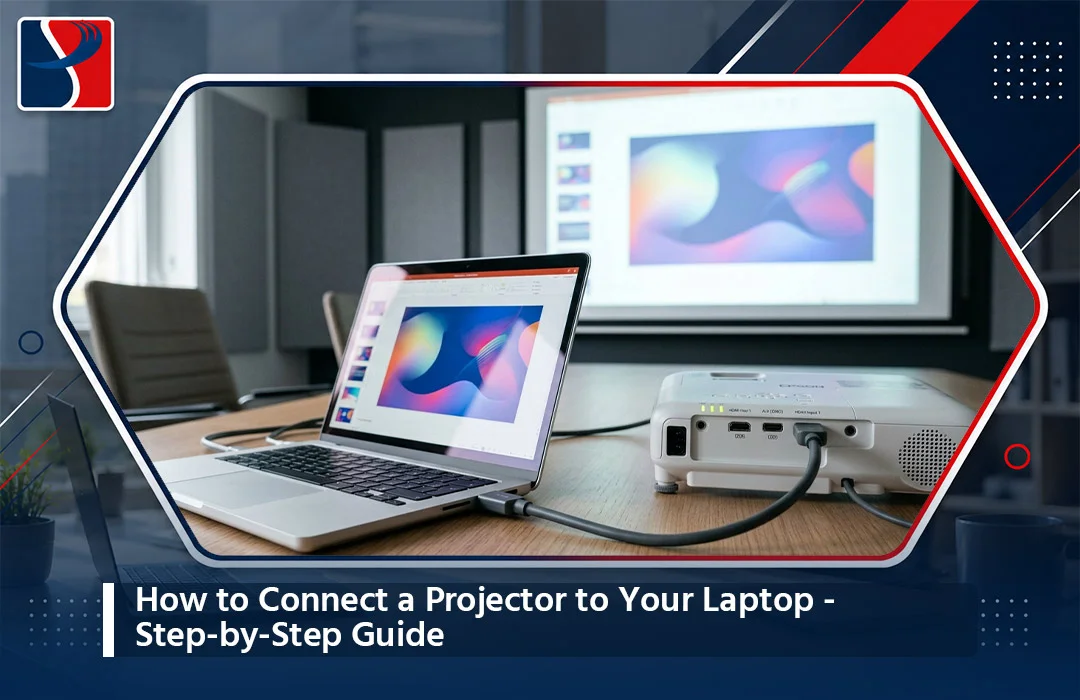
Whether you’re presenting a business proposal, teaching a classroom full of students, or setting up movie night on the living room wall, connecting a projector to your laptop should be a five-minute job — not a thirty-minute headache. Yet almost everyone has faced the dreaded “no signal” screen at the worst possible moment. In this guide, we’ll walk you through every cable, setting, and troubleshooting trick you need to get your laptop display projector setup working flawlessly, every single time.
Why Projector-Laptop Connections Go Wrong
Before we jump into the steps, it helps to understand why this process trips people up. Most connection failures come down to one of three things: the wrong cable, a display mode that hasn’t been switched, or a projector input that’s set to the wrong channel. Once you know where to look, fixing it takes seconds.
If you’re shopping for a new machine and want something that plays nicely with modern projectors and external displays right out of the box, browsing a reliable laptop collection in Bangladesh is a good place to start — most current-generation laptops now ship with HDMI or USB-C ports designed for exactly this kind of external display connection.
Step 1: Identify the Right Cable or Port
The first step in any laptop to projector connection is figuring out what ports you actually have. Modern laptops typically include one or more of the following:
Check both your laptop and your projector for matching ports before you buy any adapter. Newer HP, Dell, Lenovo, and ASUS laptops — like the ones you’ll find in our HP laptop lineup — almost always include HDMI as standard, making cable-based projector setup straightforward.
- HDMI (High-Definition Multimedia Interface): The most common port for laptop projector connection today. It carries both video and audio through a single cable.
- USB-C / Thunderbolt: Increasingly common on thin-and-light laptops. You’ll need a USB-C to HDMI adapter or cable if your projector only accepts HDMI.
- VGA (Video Graphics Array): Still found on many older office and classroom projectors. If your laptop lacks a VGA port, a cheap HDMI-to-VGA adapter solves the problem.
- Wireless/Wi-Fi projection: Many newer projectors support Miracast, Chromecast, or manufacturer-specific wireless casting, eliminating cables altogether.
Step 2: Power Off Both Devices (Optional but Recommended)
While most modern laptops and projectors support hot-plugging (connecting cables while powered on), some older hardware handles the handshake between devices more reliably if you plug in the cable first and then power everything on. If your projector isn’t detecting the signal on the first try, this is the first thing to test.
Step 3: Connect the Cable
Plug one end of your HDMI (or VGA) cable into the laptop’s video output port and the other end into the projector’s corresponding input port. Note the input number if your projector has multiple HDMI inputs (HDMI 1, HDMI 2, etc.) — you’ll need this in the next step.
Step 4: Select the Correct Input Source on the Projector
This is the step people forget most often. Use your projector’s remote or control panel to cycle through input sources until you find the one matching your cable (e.g., “HDMI 1”). If the projector is set to VGA while you’re plugged into HDMI, you’ll see a blank screen no matter how correctly you did Step 3.
Step 5: Switch Your Laptop’s Display Mode
Once the cable is connected and the projector input is correct, your laptop needs to be told to actually send a signal out. On Windows laptops, press Windows key + P to open the projection menu. You’ll see four options:
- PC screen only – nothing sent to the projector
- Duplicate – mirrors your laptop screen exactly (best for presentations)
- Extend – treats the projector as a second monitor with more screen real estate
- Second screen only – turns your laptop screen off and uses only the projector
For most presentations, Duplicate is the safest choice because what you see is exactly what your audience sees. On a MacBook, go to System Settings > Displays and select “Mirror Displays” or configure an extended desktop from the same menu.
Step 6: Adjust Resolution and Aspect Ratio
If text looks stretched, blurry, or cut off at the edges, your laptop’s output resolution likely doesn’t match the projector’s native resolution. Most business and classroom projectors run at 1080p (1920×1080) or XGA (1024×768). Go to your display settings and manually match this resolution for the sharpest image. A laptop with a crisp Full HD IPS display — a spec you’ll find across most models in our student laptop collection — will typically default to the correct aspect ratio automatically.
Step 7: Enable Audio Output (If Needed)
HDMI carries audio by default, but Windows sometimes keeps sound routed to your laptop speakers. Right-click the speaker icon in the taskbar, choose your playback device, and select the projector or the HDMI output. If you’re using VGA (video only), you’ll need a separate 3.5mm audio cable connected to the projector’s audio-in port.
Troubleshooting Common Projector Connection Problems
Even after following every step correctly, things can still go wrong. Here are fixes for the most common issues:
“No Signal” message on the projector screen Double-check the input source selection on the projector, reseat the cable firmly on both ends, and try pressing Windows key + P again to re-trigger the display handshake.
Flickering or a black screen that keeps blinking This usually points to a loose cable connection or a faulty adapter. Try a different HDMI cable if you have one — cheap, unshielded cables are a common culprit, especially over longer distances.
Laptop detects the projector but the image is distorted Manually set the resolution to match the projector’s native resolution rather than relying on “auto-detect,” which sometimes picks a mismatched setting.
USB-C laptop won’t output video at all Not every USB-C port supports video output (this is called “DisplayPort Alt Mode”). Check your laptop’s specification sheet, or simply choose a laptop that explicitly supports USB-C video-out when buying — a detail listed clearly on every product page in our ASUS laptop range.
Wireless projection keeps disconnecting Wi-Fi interference is the usual cause. Move closer to the projector, switch to a 5GHz network if available, or fall back to a wired HDMI connection for anything mission-critical, like a client pitch.
Wireless Projector Connection: A Cable-Free Alternative
If your projector supports Miracast (Windows), AirPlay (Mac), or a manufacturer app like Epson iProjection or BenQ InstaShow, you can skip cables entirely:
- Ensure both the laptop and projector are on the same Wi-Fi network (or that the projector is broadcasting its own hotspot).
- On Windows, open the Action Center and select Cast, then choose your projector from the list.
- On Mac, click the Screen Mirroring icon in the menu bar and select the projector.
- Wait a few seconds for the handshake to complete, then confirm both audio and video are transmitting correctly.
Wireless projection is convenient for casual use but can introduce a slight input lag, so it’s not ideal for anything requiring precise timing, like video editing reviews or gaming demonstrations.
Choosing a Laptop That Makes Projector Setup Effortless
If you’re constantly connecting to projectors for work, teaching, or presentations, it’s worth choosing a laptop with reliable, modern video-output hardware from the start. Look for:
- HDMI port built-in – avoids dongle dependency
- USB-C with DisplayPort Alt Mode – future-proofs you for newer projectors and monitors
- A dedicated or capable integrated GPU – smoother video output, especially for HD or 4K content
- 8GB RAM or more – prevents lag when running presentation software alongside video output
Models across our HP laptop collection — such as the HP 15 fd1310TU with Intel Core Ultra 7 and Intel Arc Graphics — handle external display output smoothly thanks to modern Intel graphics that support multiple simultaneous display streams. If you present often, this kind of laptop display projector setup reliability pays for itself quickly in saved time and reduced stress before every meeting.
Final Checklist Before Your Next Presentation
- [ ] Correct cable (HDMI/USB-C/VGA) packed and tested
- [ ] Laptop fully charged or charger packed
- [ ] Projector input source confirmed in advance
- [ ] Display mode set to Duplicate for presentations
- [ ] Audio output routed to the projector
- [ ] Backup adapter in your bag, just in case
Getting comfortable with these steps means you’ll never again stand in front of a room fumbling with cables. And if your current laptop is the actual bottleneck — outdated ports, weak graphics, or an aging battery that dies mid-presentation — it might be time to upgrade. Browse the full range of laptops in Bangladesh at System Palace for genuine, warranty-backed options with fast delivery across Dhaka and nationwide.